Understanding the wiring colors of a Toyota stereo system can make a world of difference when upgrading or replacing audio components. With the right knowledge, anyone can avoid common pitfalls and ensure a seamless installation. Whether it’s connecting a new head unit or hooking up speakers, knowing which wire does what is essential for a successful project.
This guide dives into the specifics of Toyota stereo wiring colors, breaking down the various connections you’ll encounter. By familiarizing yourself with these color codes, you’ll not only save time but also enhance your vehicle’s audio experience. Get ready to unlock the full potential of your Toyota’s sound system with confidence.
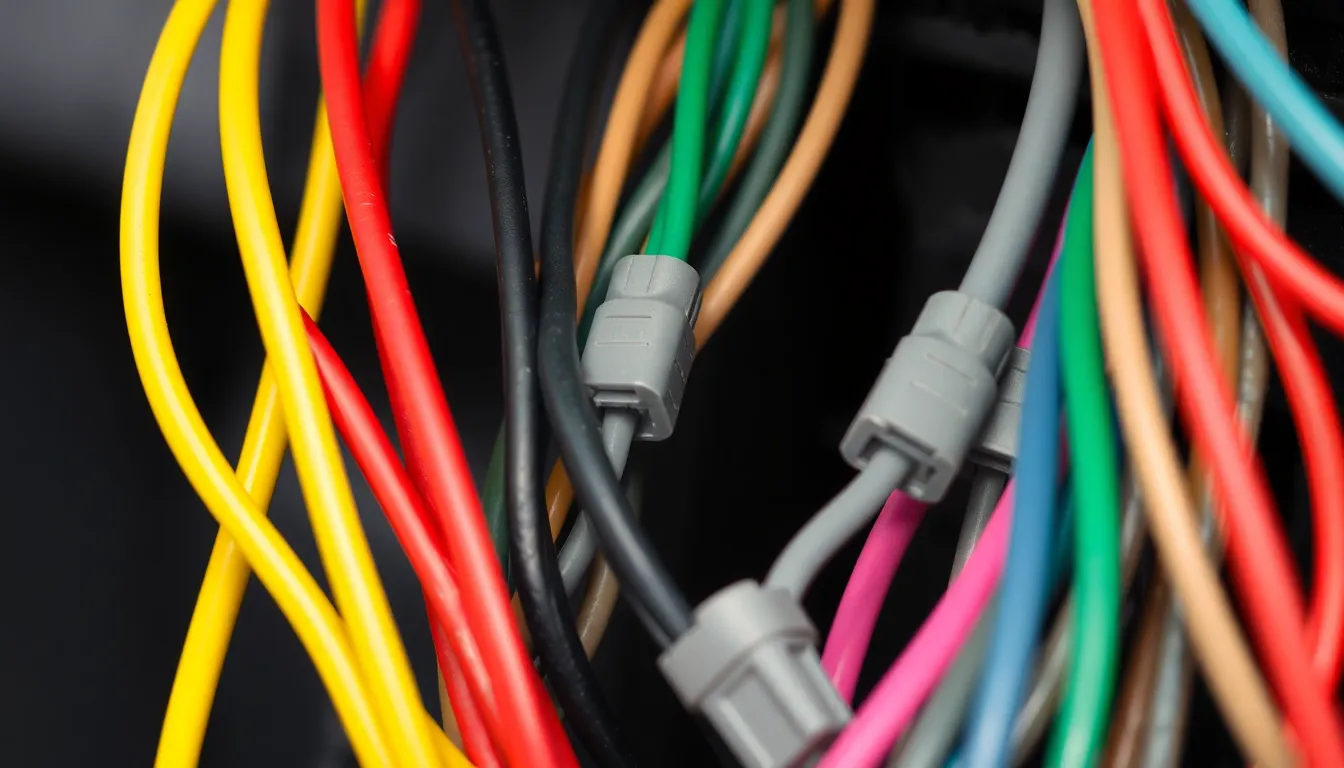
Overview of Toyota Stereo Wiring
Understanding Toyota stereo wiring colors is essential for successful audio upgrades or replacements. Each wire serves a specific function, making it crucial to grasp their roles. Familiarity with these color codes aids in avoiding common installation errors.
Common Toyota Wiring Colors
| Wire Color | Function |
|---|---|
| Yellow | Battery power |
| Red | Ignition power |
| Black | Ground |
| Orange | Illumination |
| Blue | Amplifier remote turn-on |
| White | Front left speaker positive |
| Gray | Front right speaker positive |
| Green | Rear left speaker positive |
| Purple | Rear right speaker positive |
Wiring Connections
- Connect battery power to the yellow wire.
- Attach ignition power to the red wire.
- Ground the audio system using the black wire.
- Link illumination through the orange wire.
- Join the amplifier turn-on to the blue wire.
- Connect the front left speaker to the white wire.
- Attach the rear left speaker through the green wire.
- Connect the front right speaker using the gray wire.
- Wire the rear right speaker with the purple wire.
By accurately linking these wires, one enhances the overall functionality and performance of the stereo system in a Toyota vehicle.
Common Toyota Stereo Wiring Colours

Understanding the common Toyota stereo wiring colours is essential for effective installation and optimization of audio systems in vehicles. Clear identification of these colors facilitates correct connections and enhances audio performance.
Power and Ground Wires
Power and ground wires provide essential energy for the stereo system. Common colors include:
- Yellow: Indicates battery power. This wire connects directly to the vehicle’s battery, maintaining constant voltage.
- Red: Represents ignition power. This wire connects to the ignition switch, supplying power when the vehicle is running.
- Black: Signifies ground. This wire connects to the vehicle’s chassis, establishing a return path for electrical current.
Speaker Wires
Speaker wires transmit audio signals. Usually, the color codes involve:
- Front Speakers: Typically, light green indicates the left front speaker’s positive connection, while green denotes the negative connection.
- Rear Speakers: For the rear, dark green often represents the left rear speaker’s positive, and dark green with a stripe signals the negative connection.
- Dash Speakers: Commonly, gray indicates the right front speaker’s positive, while gray with a stripe shows the negative.
Accessory and Ignition Wires
Accessory and ignition wires facilitate power control within the stereo system. Key wire colors include:
- Brown: Typically signifies the accessory wire, powering the stereo when the ignition is in the accessory or on position.
- Pink or Light Green: Often used as the remote turn-on wire, this wire activates external amplifiers or features when the stereo is engaged.
Familiarizing oneself with these common wiring colors helps ensure a smooth and effective installation process in Toyota vehicles.
Wiring Diagrams for Popular Toyota Models
Understanding the wiring diagrams for popular Toyota models aids in the correct installation of stereo systems. Below are detailed diagrams for specific models, showing wiring color codes and functions.
Toyota Corolla Wiring Diagram
The Toyota Corolla features several key wiring colors.
| Wire Color | Function |
|---|---|
| Yellow | Battery power |
| Red | Ignition power |
| Black | Ground |
| Light Green | Front left speaker |
| Dark Green | Front right speaker |
| Blue | Remote turn-on |
Properly connecting these wires ensures optimal performance of the stereo system.
Toyota Camry Wiring Diagram
The Toyota Camry uses distinct wiring colors for its stereo system.
| Wire Color | Function |
|---|---|
| Yellow | Battery power |
| Red | Ignition power |
| Black | Ground |
| White | Front left speaker |
| Gray | Front right speaker |
| Green | Rear left speaker |
| Purple | Rear right speaker |
Following these color codes facilitates a seamless installation experience.
Toyota RAV4 Wiring Diagram
For the Toyota RAV4, the wiring color codes are essential for stereo integration.
| Wire Color | Function |
|---|---|
| Yellow | Battery power |
| Red | Ignition power |
| Black | Ground |
| Light Green | Front left speaker |
| Dark Green | Front right speaker |
| Dark Blue | Rear left speaker |
| Dark Gray | Rear right speaker |
Adhering to these specifications promotes efficient functionality of the audio system.
Tips for Proper Wiring Installation
- Double-check wiring colors: Verify colors against the manufacturer’s wiring diagram before starting installation. This helps prevent connection errors.
- Use high-quality connectors: Employ compatible connectors to ensure secure and reliable connections. Loose connections can lead to audio issues or electrical failures.
- Protect against shorts: Isolate wires properly using electrical tape or heat shrink tubing to prevent short circuits. This step enhances safety and ensures optimal performance.
- Secure wiring harnesses: Ensure wiring harnesses are securely fastened to avoid rattling or damage while driving. Proper placement contributes to a cleaner installation.
- Follow the installation order: Start with power connections and ground connections, followed by speaker wires. Adhering to this order simplifies the process and minimizes complications.
- Test functionality: Once installation is complete, power on the stereo system and test all functions—radio, CD player, Bluetooth, etc. Confirming functionality prevents troubleshooting after installation.
- Keep wire lengths manageable: Avoid excessive wire lengths that can cause tangling or signal loss. Measure and cut wires precisely to maintain a clean setup.
- Document connections: Take notes or photographs during installation of connections and configurations for future reference. This documentation aids in repairs or upgrades later on.